MetaMask is the most popular crypto wallet around. Yet, you’ve heard that hardware wallets are the best storage solution for your digital assets.
So, which is better? Below is a battle of the wallets; hardware wallet vs MetaMask to be precise.
Hardware wallets are the most secure way to store digital assets like crypto and NFTs. However, they cost money and require some knowledge to set up. MetaMask is a less secure wallet but is free to use and simple to set up. Let’s compare the two.
In this article, you will learn:
Hardware Wallet vs MetaMask Wallet
There is one major factor that differentiates hardware wallets from MetaMask.
A hardware wallet is a cold-storage device, so your private keys and passphrases are kept offline, reducing the likelihood of being hacked.
MetaMask on the other hand is a software wallet (aka a hot wallet), meaning your private key and passphrases are stored in the software, which is connected to the internet since it’s installed on your computer or mobile device.
This makes the MetaMask wallet more susceptible to being hacked.
Of course, there are pros and cons to each wallet.
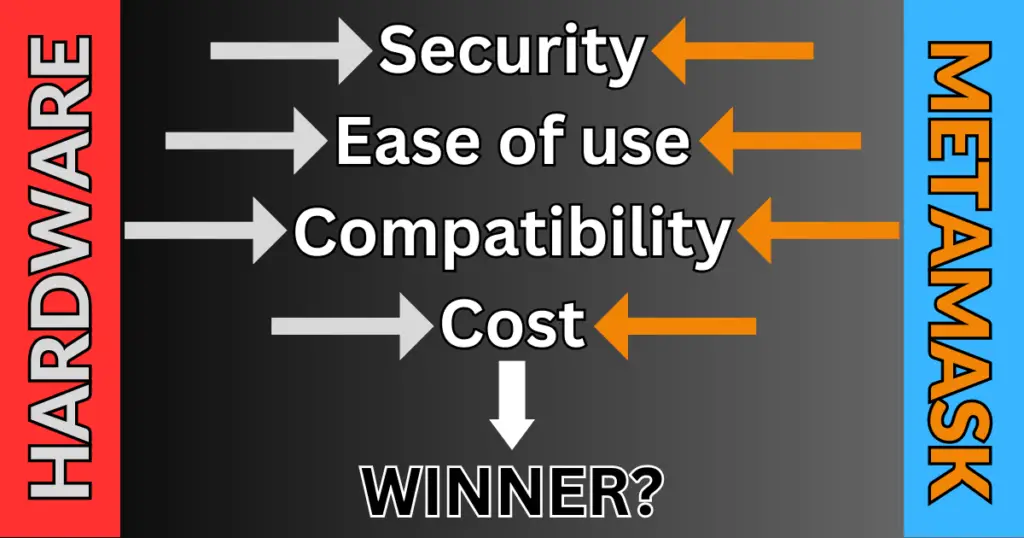
Let’s break down the most important aspects of any crypto wallet: security, ease of use, compatibility, and cost.
Hardware wallet security features
A hardware wallet is the most secure type of wallet you can use to store your digital assets.
Beyond providing an offline storage solution for your wallet’s most important features (your secret recovery phrase and password), most safe hardware wallets utilize the best security features.
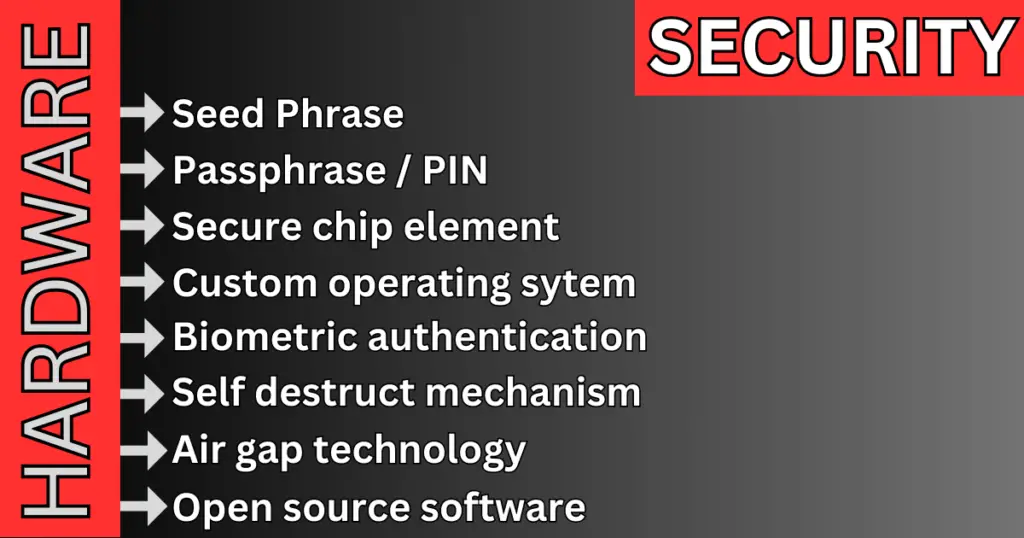
A hardware wallet’s greatest security features include:
- Seed phrase: A seed phrase is a wallet’s greatest line of defense. Most seed phrases are made up of 12, 18, or 24 words that create your wallet’s unique phrase. This phrase acts as the master key to your wallet.
- Password protection: Like any protected device, hardware wallets enable users to create a password for an added layer of security.
- PIN code: Upon setting up a hardware wallet, you are required to create a 6-8 digit PIN code. This code protects your private keys and prevents unauthorized access.
- Secure chip element: An element designed to make wallets tamper-resistant, provide a secure boot mechanism, hardware-based encryption, and secure keyphrase storage.
This prevents various attacks including physical, side-channel, and remote attacks. - Custom operating system: Hardware wallets that utilize an operating system, such as the Ledger Stax, use it to manage their functions and interactions with other devices.
Generally, these operating systems keep apps separate from the device itself, in case a malicious app is downloaded. This ensures the wallet’s overall security is never compromised. - Biometric authentication: Some premium hardware wallets, such as the Keystone Pro, utilize a fingerprint scanner to authenticate their user. This extra security feature is a big plus when it comes to keeping others out.
- Self-destruct mechanism: Certain hardware wallets, like the Ellipal Titan, feature a “self-destruct” mechanism that’s activated once too many failed access attempts have been made.
Of course, it doesn’t literally blow up. It does, however, erase your account from the device. - Air gap: An air-gapped wallet means it’s completely isolated from the internet or any other network-connected device.
This includes eliminating Wifi, Bluetooth, and in some cases USB connections. Generally, air-gapped wallets use QR codes and a camera to complete transactions. - Open source software: While not all hardware wallets’ software is open source, reputable brands like Trezor are.
This enables anyone to review and audit the software to confirm there are no weak points that could lead to the software being compromised.
As you can see, hardware wallets utilize various security elements to ensure users’ assets remain secure.
That said, software wallets like MetaMask provide some of these features, like a seed phrase, password, and biometric authentication—but fail to offer all of them.
Let’s take a look at MetaMask’s security features now.
You can find a complete list of the safest hardware wallets in our guide.
MetaMask wallet security features
MetaMask is one of the most secure and trusted software wallets in the industry. But, can it compete with hardware wallets?
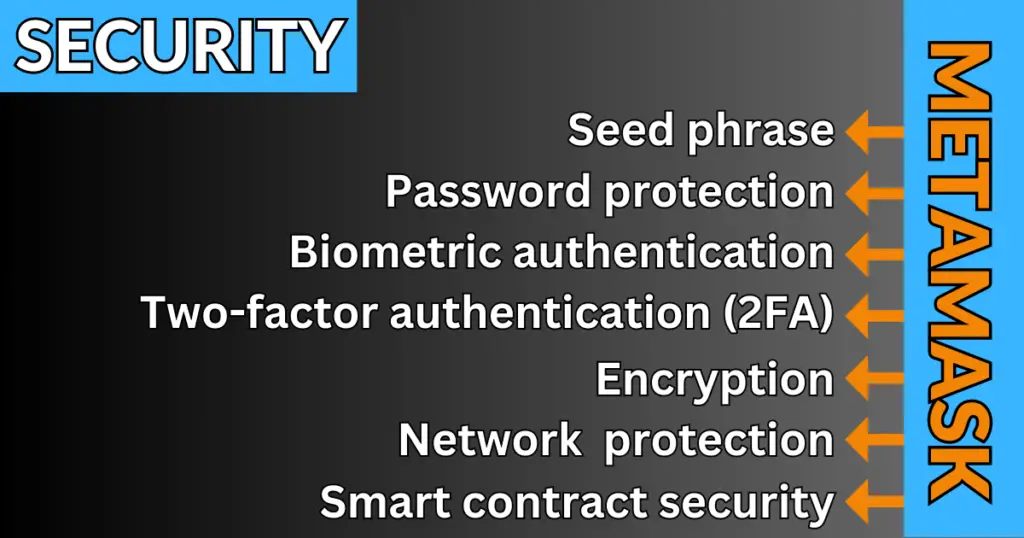
MetaMask’s greatest security features include
- Seed phrase: MetaMask wallet generates a 12-word secret recovery phrase to access your wallet whenever you create a new wallet
- Password protection: MetaMask requires users to create a strong password to access their wallet, which helps prevent unauthorized access.
- Biometric authentication: The MetaMask mobile app offers users the ability to enable Face ID for added security. Note, biometric authentication is not available on the desktop version.
- Two-Factor Authentication (2FA): You can enable an optional 2FA feature that adds an extra layer of security. You can use an app like Authy or Google Authenticator for this feature.
- Encryption: MetaMask encrypts sensitive information including your private keys and seed phrases, making it more difficult for hackers to access your data.
- Network Protection: The MetaMask app and browser extension provide a built-in phishing protection feature that warns users about suspicious websites or links that might try to steal their information, via a popup message.
- Smart Contract Security: MetaMask reviews and audits smart contracts of the dApps that are integrated with its wallet, ensuring they meet the required security standards.
Undoubtedly, MetaMask does a great job of providing users with as many security measures as possible for a software wallet.
However, it just doesn’t compare to the features offered by hardware wallets.
Hardware wallet vs MetaMask winner:
When it comes to security, hardware wallets are the clear winner.
Not only do they provide more security features than MetaMask, but they also keep your wallet’s seed phrase offline.
This is something MetaMask could never achieve unless they offer their own hardware wallet.
Hardware wallet ease of use
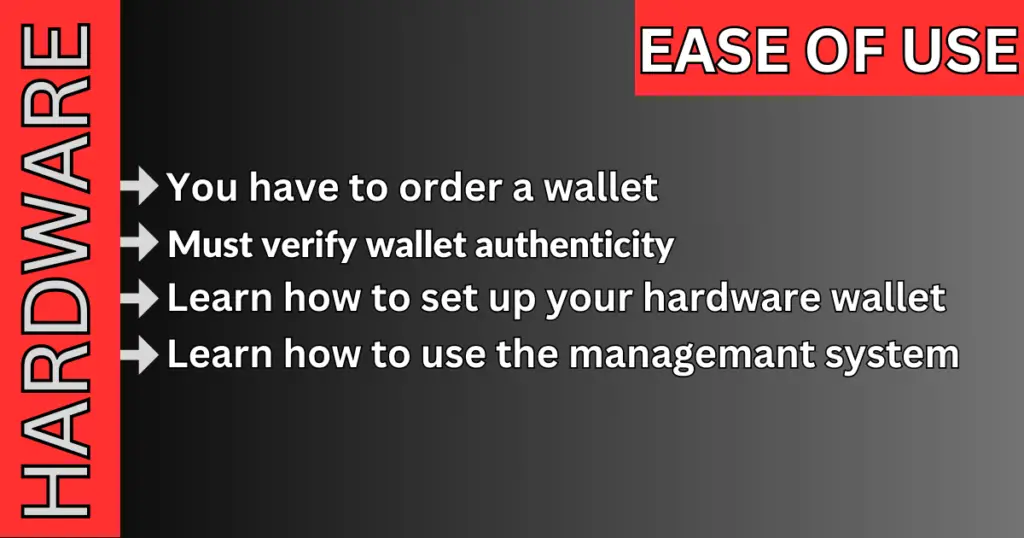
Let’s talk about how easy using a hardware wallet is—or isn’t. In most cases, setting up and using a cold storage wallet is fairly straightforward.
Using a hardware wallet generally includes learning the wallet’s user interface, sending and receiving cryptocurrency, and configuring your wallet.
Hardware wallets are made to be user-friendly, and many come with comprehensive instructions and support to help you get started, despite the fact that at first, it may seem intimidating.
First, you choose a wallet that best fits your needs and order it. One thing to note is that you must order your device from a reputable supplier, preferably the manufacturer, otherwise you risk buying a fake or compromised device.
Depending on where your wallet ships from, it could take a while to arrive. For example, when I ordered my Ledger hardware wallet it took about one week.
Why? Because it ships from France and I’m in the United States.
Once you receive your wallet it’s recommended that you verify it’s authentic and not tampered with in any way. Depending on the brand of wallet you order, there are different ways to verify it.
Here is a list of resources for popular hardware wallet brands and how to verify the authenticity of each one:
- Ledger Hardware Wallets
- Trezor Hardware Wallets (Model One & Model T)
- Ngrave Hardware Wallets
- Keystone Hardware Wallets
In general, you can tell if a hardware wallet has been compromised if a new seed phrase isn’t generated for you upon setting up your device.
Of course, other factors play a role in authenticating your device such as the packaging exterior, the contents of the package, holographic seals, and other key indicators used to verify authenticity.
After confirming your wallet is legit, you have to set it up. Hardware wallets come with everything you need to get started.
That said, wallets like Ledger and Trezor require you to download a software management system onto your desktop so you can safely use your wallet.
Although this isn’t difficult, it might take a while to learn how the system works once installed.
Nonetheless, after you get it all set up a play around with the user interface, it’s not too bad. But it’s fair to say there is a slight learning curve.
As you can see, there is a decent amount of work involved before you can use your hardware wallet—at least compared to MetaMask.
MetaMask wallet ease of use
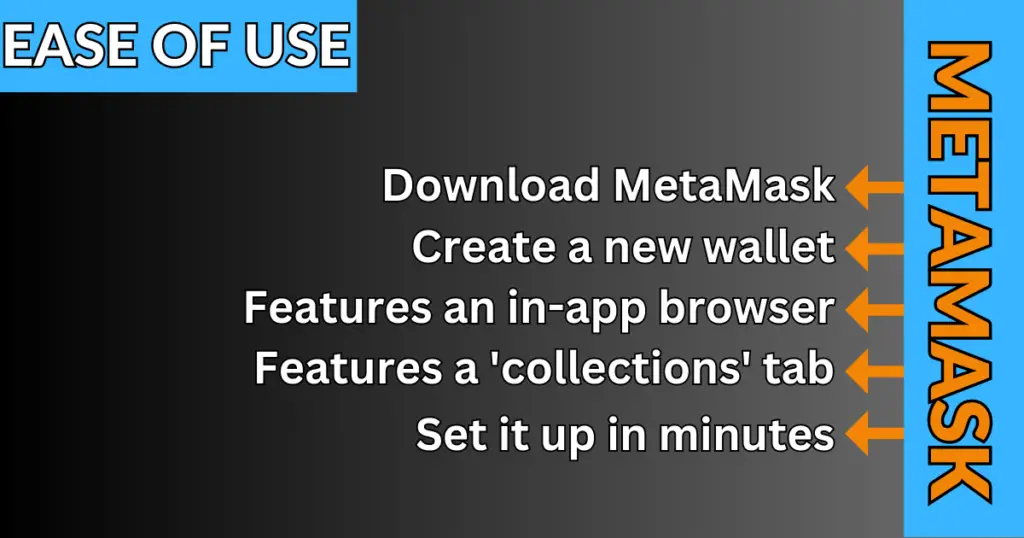
Setting up a MetaMask wallet can be achieved in minutes! The only authenticating you really need to do is to ensure you download the software from their official website: MetaMask.io.
After downloading the wallet, either on your mobile device or desktop computer, you simply record your secret recovery phrase and store it in a safe place (not online), create your password, and you’re all set.
As far as using MetaMask, everything you need is found on the wallet itself.
It’s got an in-app browser that you’ll use to connect to dapps and sign transactions, as well as buy, sell, send, and swap buttons used for cryptocurrency.
Furthermore, you can view all the crypto you own, and NFTs directly in your MetaMask wallet.
In my experience, MetaMask is one of the easiest crypto wallets on the market. In fact, it was the first wallet I used when I first began buying and selling digital assets on the blockchain.
Hardware wallet vs MetaMask winner:
MetaMask is quicker and easier to use and set up compared to any hardware wallet.
MetaMask can be set up and ready to go in minutes, whereas a hardware wallet takes days assuming you order it online. Plus each hardware wallet is different, making the learning curve slightly greater compared to Metamask.
Hardware wallet compatibility
Although each brand of hardware wallet offers different compatibility, most of them support numerous blockchain networks, coins, tokens, assets, and devices.
Here are the most popular hardware wallets and the compatibility they offer.
| Hardware Wallet | Coin & Token Compatibility | Blockchain Compatibility | Device Compatibility |
|---|---|---|---|
| Ledger Nano S Plus | 5500+ coins and tokens with the Ledger Live app, from your computer or smartphone (Android only). | Bitcoin, Ethereum, Ripple, Tether, Polkadot, Litecoin, Binance, EOS, Stellar, Cardano, Monero, Tezos, Solana, and more. | Windows 8.1, macOS 10.14 (64-bit), Linux Ubuntu 20.04 (64-bit), or a smartphone with at least Android 8.1. |
| Ledger Nano X | 5500+ coins and tokens with Ledger Live app, from your computer or smartphone (Android and iOS.) | Bitcoin, Ethereum, Ripple, Tether, Polkadot, Litecoin, Binance, EOS, Stellar, Cardano, Monero, Tezos, Solana, and more. | A desktop computer (at least 64-bit Windows 8.1, macOS 10.10, or 64-bit Linux) or a smartphone (at least iOS 9 or Android 7). |
| Ledger Stax | More than 5000 crypto, tokens, and NFTs are supported when using a third-party wallet. | Bitcoin, Ethereum, Ripple, Tether, Polkadot, Litecoin, Binance, EOS, Stellar, Cardano, Monero, Tezos, Solana, and more. | Windows 10+, macOS 12+, Linux Ubuntu LTS 20.04+. |
| Trezor Model T | Supports fourteen cryptocurrencies. | Bitcoin, Ethereum (and all ERC-20 tokens), Cardano, Litecoin, Ethereum Classic, XRP, Dogecoin, and more. | Windows, macOS, and Linux, and browser support in Firefox and Chrome. Mobile support for Android (via USB-C), and there is currently no support for iOS. |
| Trezor Model One | Supports twelve cryptocurrencies. | Bitcoin, Ethereum (and all ERC-20 tokens), Cardano, Litecoin, Ethereum Classic, XRP, and Dogecoin. | Windows, macOS, and Linux, and browser support in Firefox and Chrome. Mobile support for Android (via USB-C), and there is currently no support for iOS. |
| Keystone Pro | BTC, ETH, BCH, DASH, LTC, TRX, USDT, DOT, KSM, and XRP as well as ETH, and TRX tokens. | 9 blockchains and 5,000+ tokens. It’s limited to storing and sending crypto. | Keystone is compatible with hot wallets like MetaMask, Keplr, ArConnect, Solflare, Petra Wallet, Sender Wallet, XRP Toolkit, and others. |
| Ellipal Titan | Ellipal supports over 10,000 Coins and Tokens. | Bitcoin, Ethereum, Binance Smart Chain, Ripple, Litecoin, Bitcoin Cash, Stellar, Dash, Dogecoin, EOS, and more. | Android and iOS mobile devices. |
| Ngrave Zero | BTC, BCH, DASH, LTC, BSC, XRP, DOGE, XTZ, GRS, SOL, and XLM. Also, ERC20 tokens on the Ethereum network, amongst which USD Coin, Basic Attention Token, OmiseGO, Augur, TrueUSD, Enjin Coin, Dai, DigixDAO, Golem, Status, iExec RLC, and more. | Bitcoin, Bitcoin Cash, Ethereum, Dash, Zcash, Litecoin, Binance Smart Chain, XRPL, Dogecoin, Tezos, MultiversX, Groestlcoin, Solana, Stellar, plus others. | Android and iOS via the Liquid mobile app. |
| CoolWallet Pro | BTC, ETH, BNB, XRP, BUSD, ADA, SOL, MATIC, DOT, TRX, LTC, AVAX APTOS, and more. | Bitcoin, Ethereum, Binance Smart Chain, XRP Ledger, Cardano, Solana, Polygon, Polkadot, Tron, Litecoin, Avalanche, and more. | Android or iOS device via Bluetooth within a 10-meter range. |
| BitBox02 | BTC, ETH, Ethereum Classic, LTC, and ERC-20 tokens. There are over 1000 tokens supported on BitBox. | Bitcoin, Ethereum, Litecoin, Cardano, Polygon, Binance Smart Chain, Arbitrum, Optimism, Fantom Opera, Tether, USD Coin, Chainlink, and a bunch more. | Windows, MacOS, Linux, Android. |
MetaMask wallet compatibility
Unlike most hardware wallets, MetaMask is limited when it comes to the tokens and blockchains it supports.
| Software Wallet | Coin & Token Compatibility | Blockchain Compatibility | Device Compatibility |
| MetaMask | Only Ethereum ERC-20 and ERC-721 tokens are supported. | Ethereum, Binance Smart Chain, Polygon, Avalanche. | Available as a mobile app for Android and iOS and a web browser extension. MetaMask is compatible with various hardware wallets. |
Hardware wallet vs MetaMask winner:
Hardware wallets are compatible with multiple blockchain networks, coins, and tokens, making hardware wallets the clear winner.
MetaMask is no match compared to a majority of hardware wallets on the market. MetaMask only supports Ethereum and Ethereum Virtual Machine (EVM) compatible networks.
Hardware wallet cost
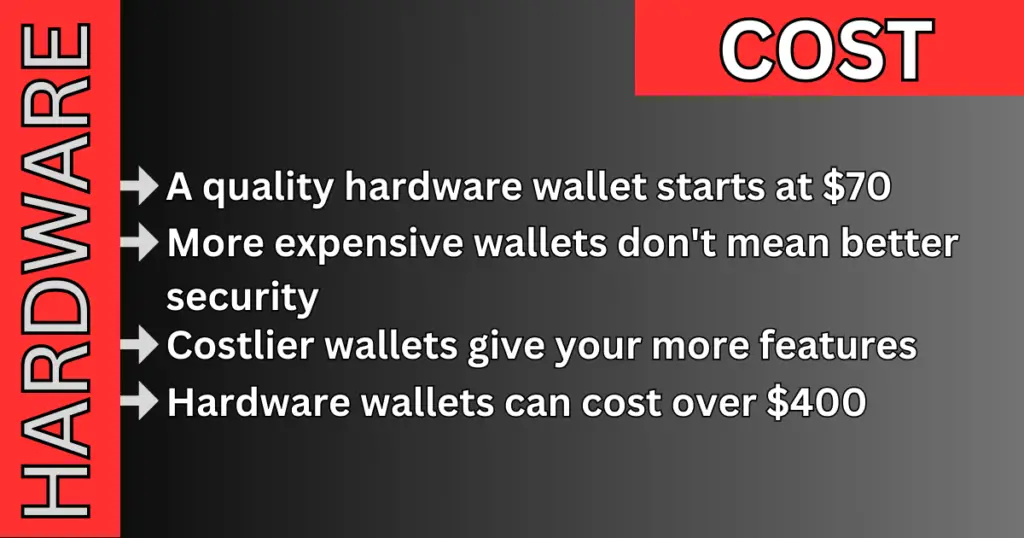
A quality hardware wallet costs anywhere from $70 to $400. The costlier devices have more features, such as a large touch screen and wireless charging.
Less expensive wallets provide the same security with fewer features; expect a smaller screen and a shorter battery life.
One thing I want to highlight concerning the different-priced wallets is that regardless of the cost, many hardware wallets offer the same level of security.
For example, the Ledger Nano S is only $79 but provides the same level of security as its more expensive counterpart, the Ledger Stax.
But since the Ledger Nano S Plus has a smaller screen, no battery, and no Bluetooth—it costs less.
The Ledger Stax on the other hand offers a large e-ink curved touch screen, a long-lasting battery, and more customization features to personalize your wallet so it costs more.
Hence, you don’t have to spend that much on a hardware wallet if you don’t want to. You can settle for a less fancy device and save a fortune.
For example, I’ve been using the Ledger Nano X for years with zero issues, and it has successfully kept all my assets secure despite it not being the fanciest wallet on the market.
MetaMask wallet cost
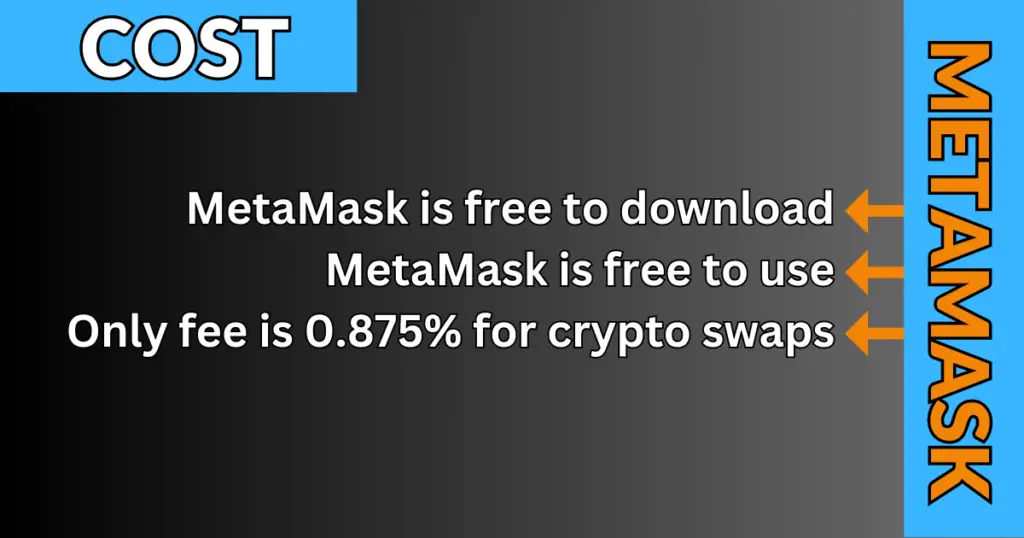
The desktop extension and mobile app version of MetaMask are completely free to download and use. The only fee MetaMask charges is a 0.875% fee to swap one cryptocurrency for another type.
Additionally, all transactions that occur using your wallet via the blockchain will incur a gas fee.
This fee is not determined by MetaMask nor is it paid to MetaMask. Rather, it’s set by the network you’re transacting on and is paid to people who help secure the blockchain network.
Hardware wallet vs MetaMask winner:
In terms of cost, MetaMask takes the win. But, considering how much money a hardware wallet can save you since they offer greater asset protection, I’d say hardware wallets are a more budget-friendly option in the long run.
Should I Use a Hardware Wallet with MetaMask?
Yes, using a hardware wallet with MetaMask provides an effortless user interface while still taking advantage of the hardware wallet’s added security. Just be sure to connect your hardware wallet to MetaMask correctly to avoid potentially exposing the device’s key phrase.
There are two ways to connect your cold storage wallet to MetaMask. One is the right way, and the other is the wrong way that you must avoid at all costs.
I know because I’ve done it the wrong way before. And although I didn’t get hacked, I did temporarily expose my seed phrase to potential hackers.
Since then, I’ve learned how to properly connect a hardware wallet to MetaMask.
How to Connect Your Hardware Wallet to MetaMask Safely

Here is the proper way to safely connect your hardware wallet to MetaMask.
1. Set up a new MetaMask wallet
You want to start with a new MetaMask wallet to be safe. This ensures your wallet hasn’t previously been exposed to any potential threats.
2. Connect your hardware wallet to your computer
Once you’ve created your new MetaMask wallet, connect your hardware wallet to your computer. Be sure to connect it to the same computer that you have MetaMask installed on.
If you’re wondering which hardware wallets MetaMask supports, currently you can use Ledger, Trezor, Keystone, AirGap Vault, and Lattice wallets with MetaMask.
3. Grant your hardware wallet permission to connect with MetaMask
Depending on which hardware wallet you have, granting access to connect to MetaMask will look different.
Below I’ve provided a brief overview of the steps to connect each compatible device to MetaMask along with a link explaining the full process for each hardware wallet.
- Ledger Wallets: Open the ‘Ethereum’ app on your Ledger device. Your device will then pop up on MetaMask in the next step.
- Trezor Wallets: A Trezor Connect prompt will pop up asking you for permission and a request to export the public key. Allow and export to continue.
- Keystone Wallets: Go to the Menu in your Keystone wallet, tap ‘Software Wallet’, then select MetaMask and tap ‘Confirm’.
Then select ‘Connect Software Wallet’ from the top right toolbar on your Keystone device to choose the accounts you want to import into MetaMask. On the next step in MetaMask, choose ‘QR-based HW Wallet’ to connect. - AirGap Vault Wallets: In MetaMask, tap the circle at the top right corner and select “Connect Hardware Wallet”.
Select ‘QR-based HW Wallet’ and click ‘Continue’. Scan the QR code in AirGap Vault. Select the Account that you want to add and click “Unlock”. - Lattice Wallets: Click the menu icon and select “Connect Hardware Wallet,” then select Lattice1 and click “Continue.” Enter your device ID and password on the secure GridPlus Lattice1 Connector module page.
Afterward, enter the secret that appears on your Lattice1 screen to pair MetaMask.
Then, import the addresses from your Lattice1 wallet that you want to use with MetaMask on the Select an Account screen, and each address will create a new MetaMask account that will be linked to Lattice1.
4. Select ‘Connect Hardware Wallet’ in MetaMask
This step ties into the previous step. Tap the circle icon at the top right corner of your MetaMask wallet then choose ‘Connect Hardware Wallet’.
Depending on your hardware wallet, at some point during these steps, you will be asked which accounts you want to import into MetaMask from your hardware wallet.
Choose whichever account you want to use with MetaMask. For example, I generally select an account that has some crypto in it if I’m planning to buy NFTs.
Connecting your cold wallet to MetaMask using the steps mentioned above is the safest way to do it.
This is because every transaction you initiate will have to be verified via your hardware wallet first.
Hence you are still utilizing the security of your hardware device even though you’re transacting through MetaMask.
Also, your secret phrase remains on your device and isn’t exposed to the internet this way.
It’s also worth mentioning how not to connect your hardware wallet to MetaMask.
Another way you can connect your hardware wallet to MetaMask is by tapping the ‘Import an existing wallet’ option during the MetaMask setup.
This enables you to input your hardware wallet’s secret recovery phrase directly into MetaMask for an even easier connection.
However, this defeats the purpose of using a hardware wallet in the first place as you’re exposing your seed phrase to potential hackers and scams. Do not use this method.
Also, it’s important to note that it’s still best to have a dedicated hardware wallet for storage, and another one for transacting. This way you know for a fact that the funds on your ‘storage-only’ wallet won’t be hacked.
You can learn more about how many hardware wallets you need in our guide.
Why Is A Hardware Wallet Safer than MetaMask?
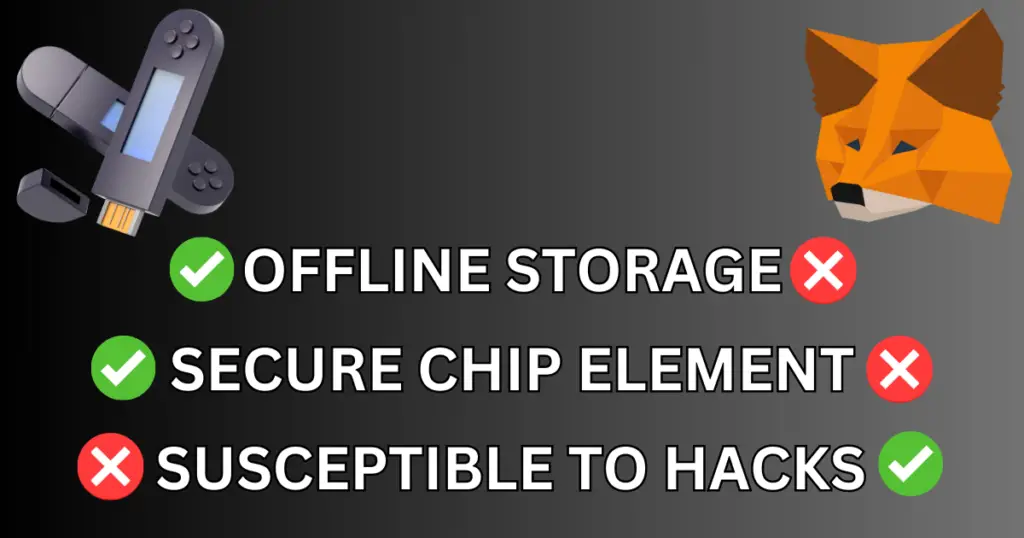
Hardware wallets are safer than MetaMask because they keep your seed phrase and passphrase offline. This keeps potential hackers out of your wallet. MetaMask’s seed phrase and password are stored in the software online. This exposes your wallet and funds to potential hackers.
It all comes down to limiting the ways bad actors can gain access to your wallet and any funds within.
Since hardware wallets aren’t connected to the internet, there are limited options for someone to gain access.
Furthermore, most hardware devices use various security measures to prevent both physical and digital attacks.
Whereas MetaMask remains susceptible since it’s always connected to the internet. Here are some ways a MetaMask wallet could be compromised:
- Phishing links: Clicking a phishing link and connecting your wallet is a guaranteed way to have your funds stolen.
- Fake airdrops: Scammers will send you a fake airdrop of either crypto or NFTs. If you try to interact with it, you’ll quickly notice it doesn’t work. So you are directed to a malicious website to “fix it’’. Little do you know, this website is designed to compromise your wallet once you connect it.
- Seed phrase exposure: Every time you enter your seed phrase into MetaMask, you’re at risk of being hacked. You never know who is watching your computer screen. Likewise, if you store your phrase online, such as in a file on your computer or phone, hackers can easily locate it and use it if they want to.
Should I Use A Hardware Wallet or MetaMask Wallet?
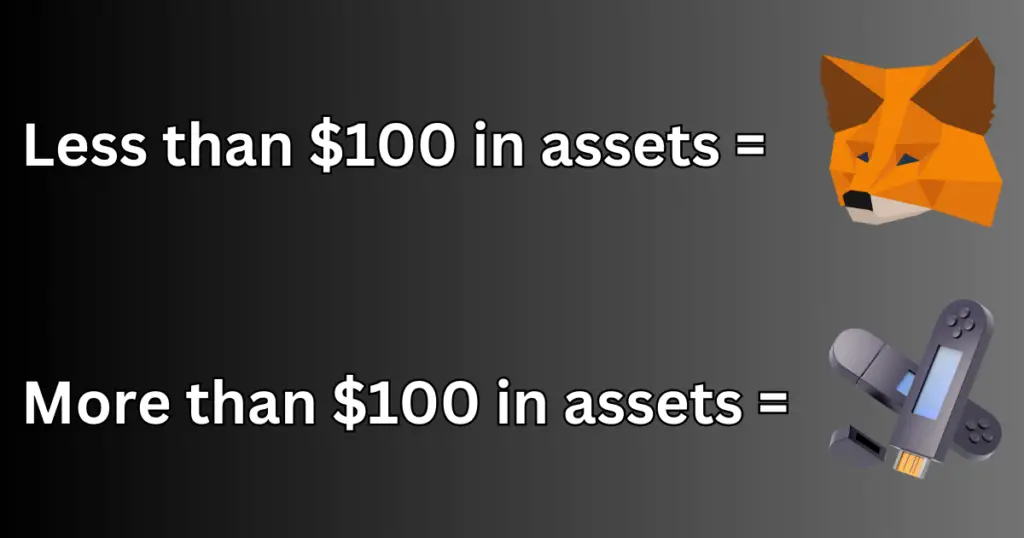
If you own more than $100 of digital assets you should use a hardware wallet for safe storage. Since a quality hardware wallet costs less than $100, it makes sense to invest in one to protect your assets. MetaMask should only be used to transact (buy, sell, and send assets).
It’s simple.
Hardware wallet = Storage (think of it as your personal vault or saving account).
MetaMask = Transactions (used only for buying, selling, and trading assets).
Frequently Asked Questions
Is MetaMask a hardware wallet?
No, MetaMask is not a hardware wallet. It’s known as a software wallet “also called a hot wallet” because it’s constantly connected to the internet. Hardware wallets are physical devices that keep your wallet’s info offline.
Is Ledger wallet better than MetaMask?
Ledger is better than MetaMask in terms of asset protection and overall security. However, MetaMask is easier to set up and free to use.
Should I move my crypto to a hardware wallet?
If you have more than $100 in crypto (the cost to own a good hardware wallet), then yes, you should move your crypto to a hardware wallet for safe storage. At the very least, you should consider moving your crypto to a non-custodial wallet like MetaMask if it’s in an exchange.

1 thought on “Hardware Wallet vs MetaMask: The Ultimate Comparison of 2023”
Comments are closed.